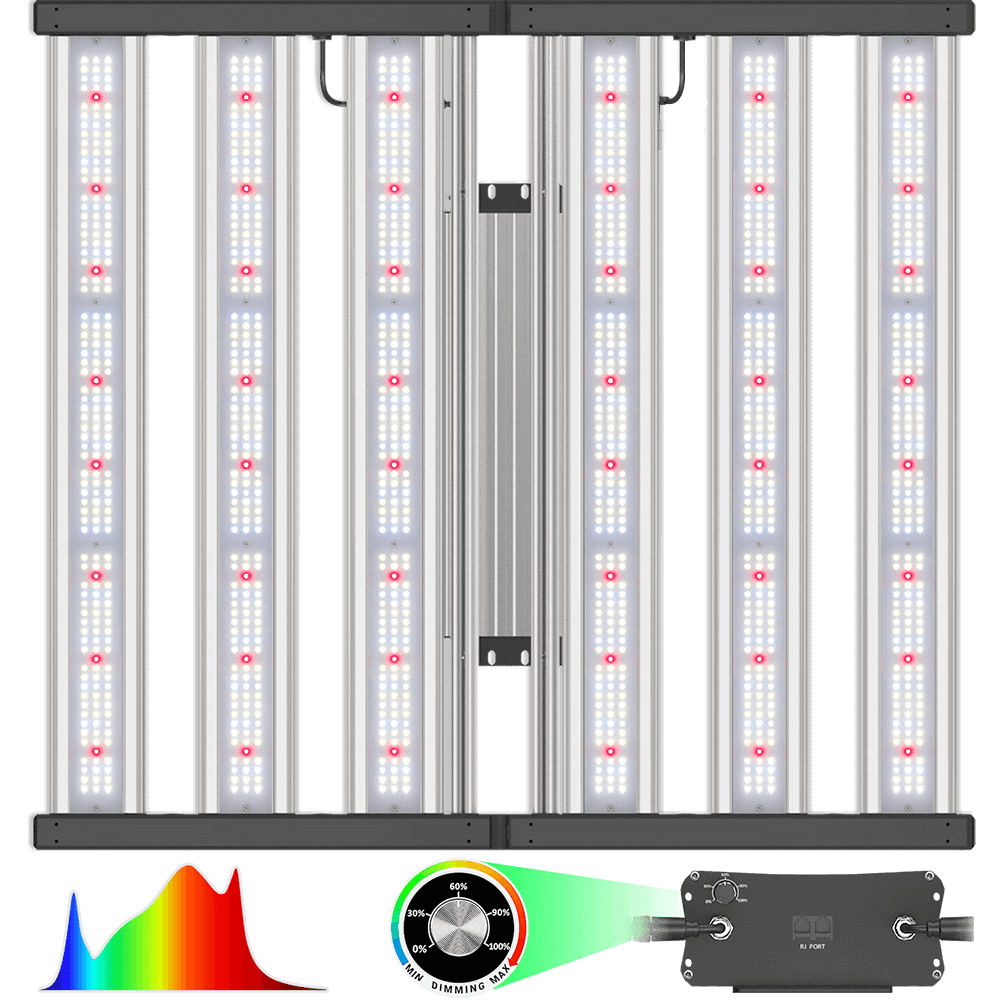
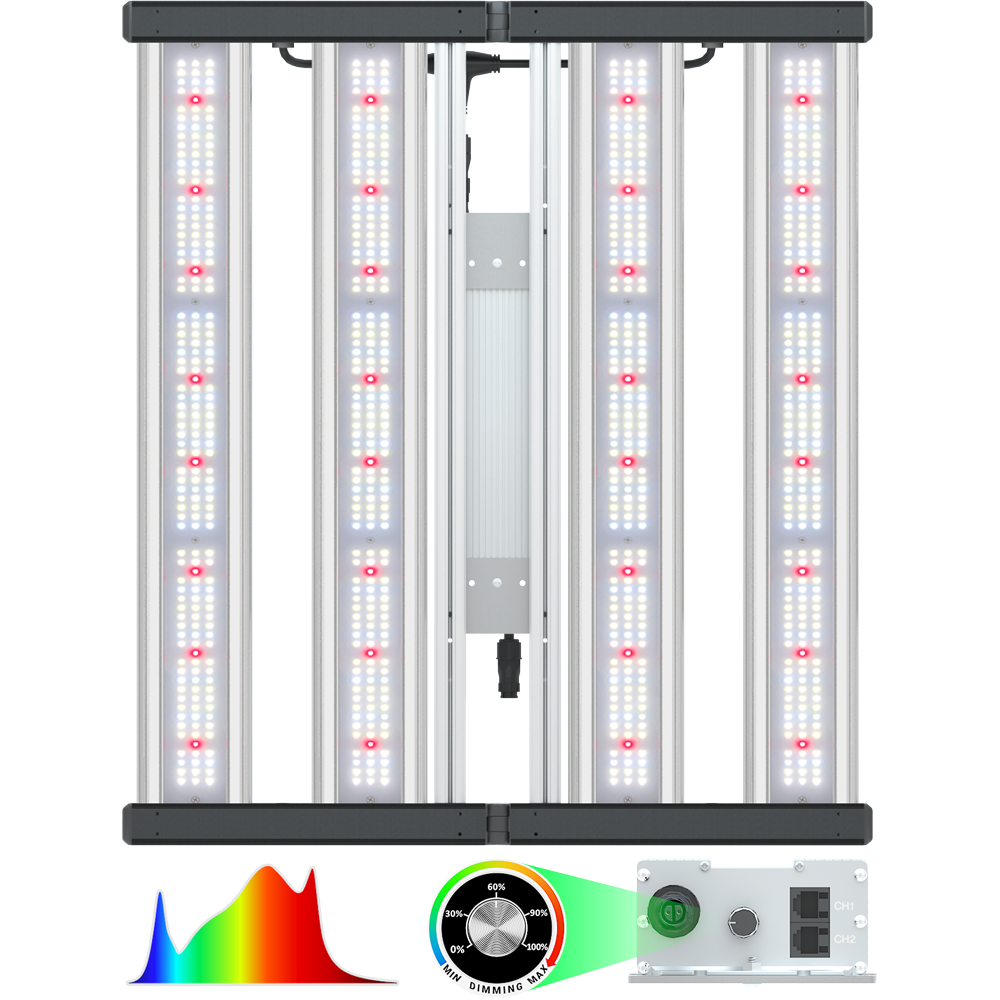
The production schedule about led grow light of HYPHOTONFLUX (part 4)
At part 3 we have primarily introduced the Light fixture assembly process including LED Board Testing and fixing the aluminum Bar, folding hinge and end cap. At part 4 we will show the LED drive box assembly and security test.
Step 10: Driver Box Assembly (Part I)
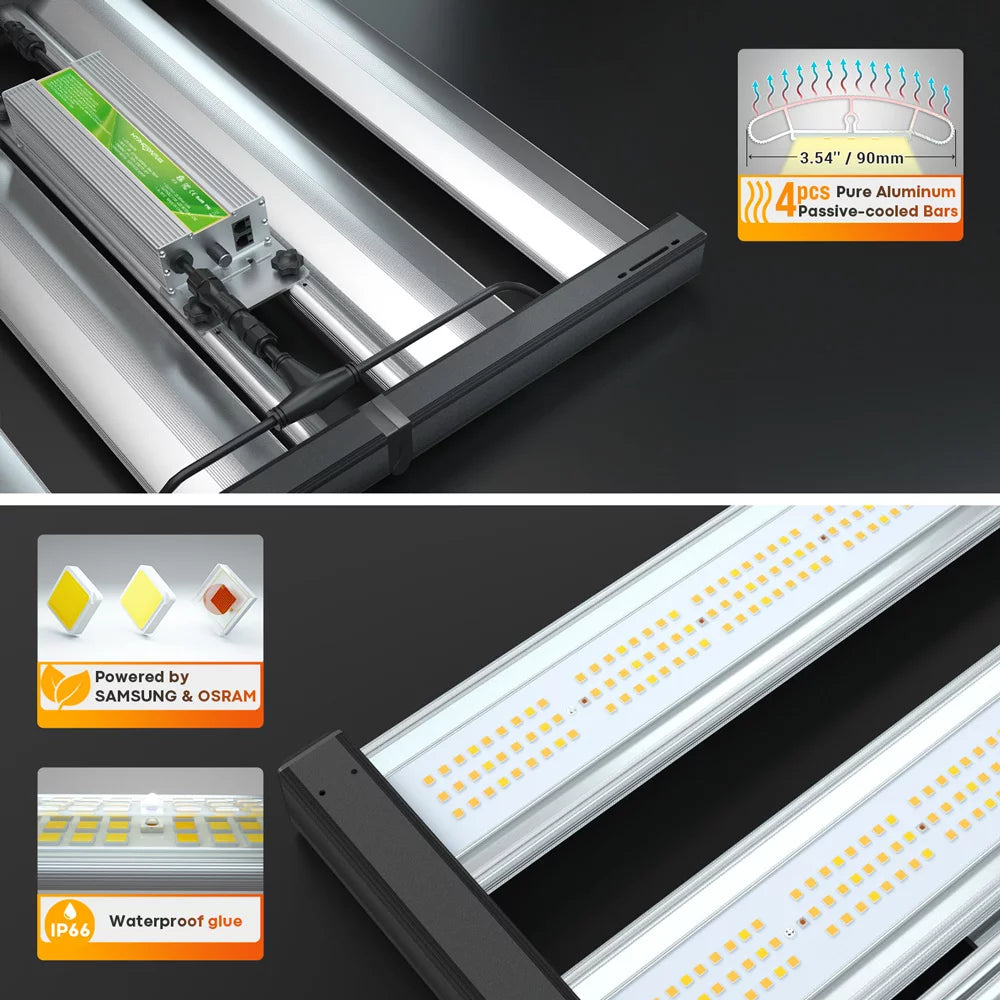
1. Fix the welded driver into the driver box, each welding point is covered with 3 layers heat-shrinkable sleeves to ensure IP66 level.
2. Fix the waterproof dimming board on the driver end cap.
3. Dock and twist waterproof female plug on the dimming board and male waterproof plug on the drivers.
4. Fix the DC end cap on the driver box.
5. Fix the plug and play connector on the AC end cap first and then fix the AC end cap on the driver box.
6. Use a wrench to tighten the two waterproof cable gland at the DC end.
7. Put the DC / AC wires in place and fix them with ties.

Step 11: Driver Box Assembly (Part Ⅱ)
1.Put the DC/ AC wires in place, fix them with ties.
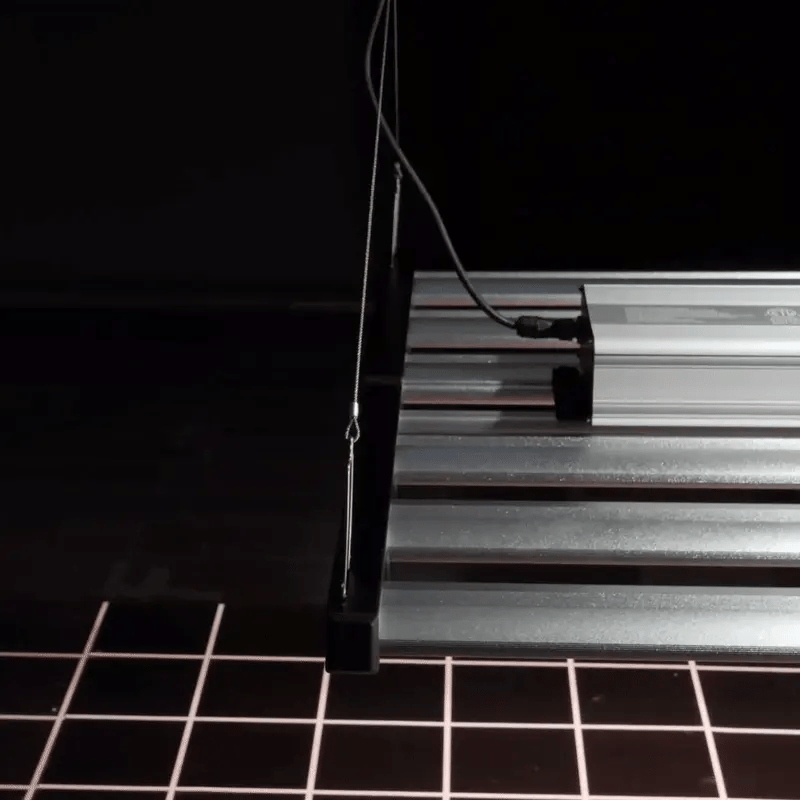
2.Connect the well fixed driver box with light fixture.
3.Adjust the drivers to correct parameters and then light up the fixture.
4.The driver box assembly is finished after fixing the cover on the driver box with screws.

Step 12: Hipot Test & Grounding Test
Safety has always been the top priority for HYPHOTONFLUX, All assembled LED driver boxes must pass 100% of the tests specified by the safety requirements- Hipot Test & Grounding Test.

More production schedules will be continued from next update.Please feel free to contact us if you have any question about quality.