How to Clone Cannabis Plants
Cloning cannabis plants is a popular practice among growers who wish to replicate their favorite strains and maintain genetic consistency. By following a few simple steps, you can successfully clone cannabis plants and ensure that your next generation of plants retains the desired traits. In this guide, we will take you through the process of cloning cannabis, from selecting the right mother plant to transplanting the rooted clones.Step 1: Choosing the Ideal Mother Plant
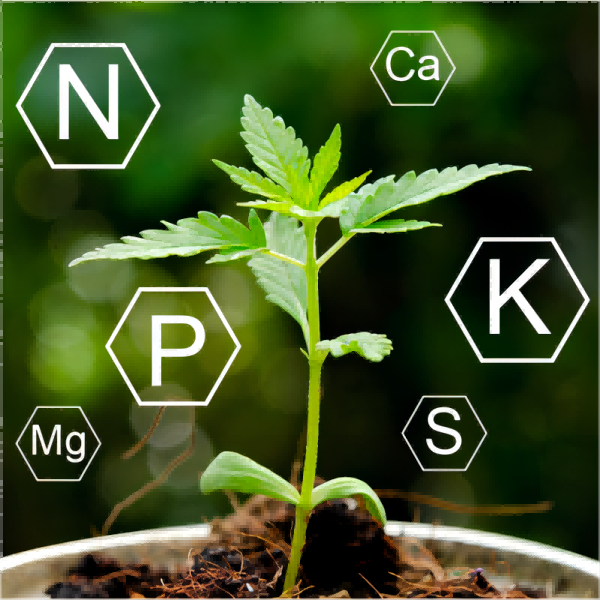
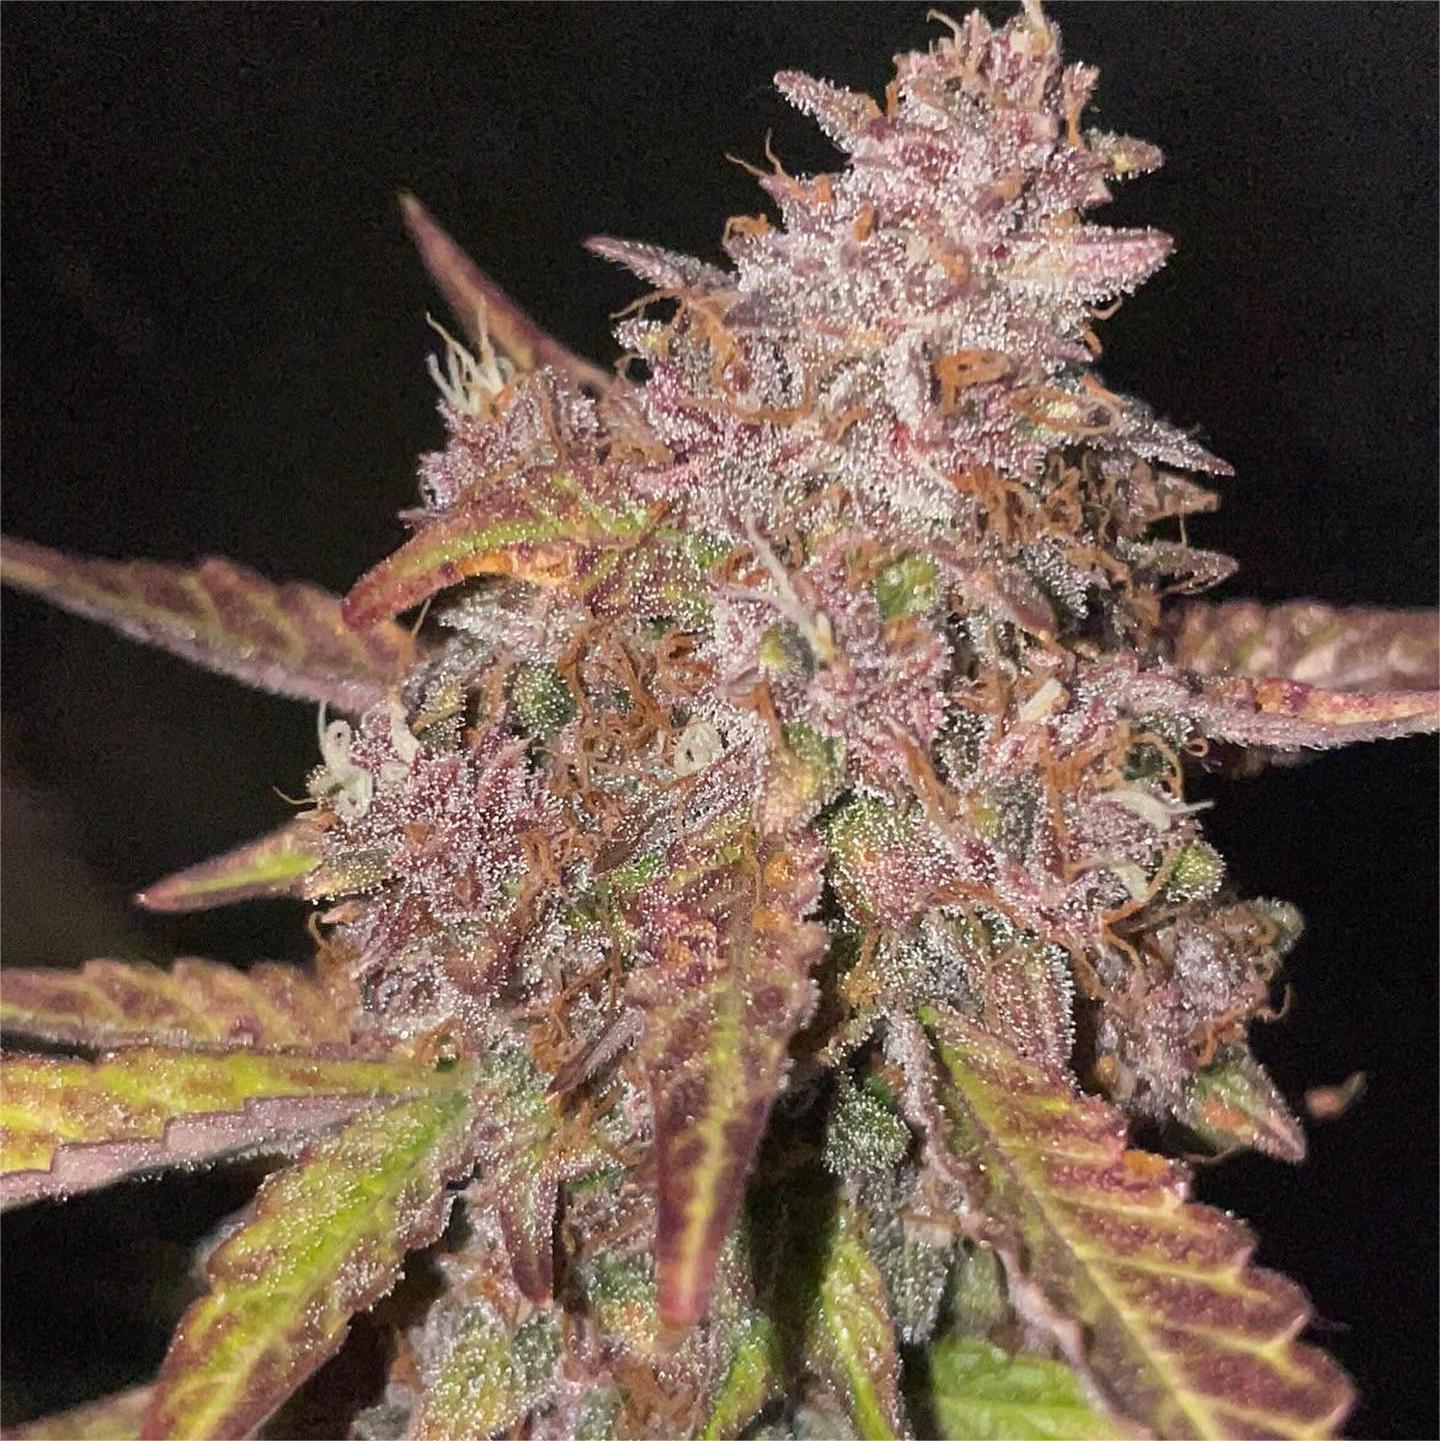
To begin the cloning process, you need to select a healthy and mature mother plant that exhibits the desired traits you want to replicate. Look for robust growth, strong branches, and high-quality buds. It's essential to choose a plant that is free from pests, diseases, and nutrient deficiencies, as these issues can be passed down to the clones.
Step 2: Assembling the Necessary Materials
Before you start cloning, gather the following materials:
Clean and sharp scissors or a sterile razor blade: These will be used to make clean cuts on the plant.
Rooting hormone (optional): Rooting hormone can enhance root development, but it's not mandatory for successful cloning.
Cloning gel or powder: This helps stimulate root growth and protects the fresh cuts from infections.
Rooting medium: Common options include rockwool cubes, peat pellets, or a soilless mix. Choose a medium that promotes root development and provides good drainage.
Humidity dome or plastic bag: These will create a moist and humid environment to support clone root growth.
Propagation tray: A shallow tray will hold the rooting medium and clones.
Step 3: Taking the Cuttings
Carefully cut 4-6 inch (10-15 cm) sections from the mother plant's branches. Make the cuts just below a node, which is where the leaves meet the stem. Remove the lower leaves, leaving only a few sets of leaves at the top of each cutting. Trim any large fan leaves to reduce water loss through transpiration.
Step 4: Optional - Applying Rooting Hormone
Although not necessary, applying rooting hormone to the fresh cuts can enhance root development. Dip the cut end of each clone into the rooting hormone, ensuring an even and light coating.
Step 5: Inserting Clones into the Rooting Medium
Prepare your rooting medium by moistening it slightly. If using rockwool cubes, soak them in water with a pH of around 5.5. Create small holes in the medium using a pencil or your finger and gently insert each clone into its respective hole, ensuring the cut end is secure and upright. Maintain a spacing of a few inches between the clones for proper airflow.
Step 6: Providing the Optimal Environment
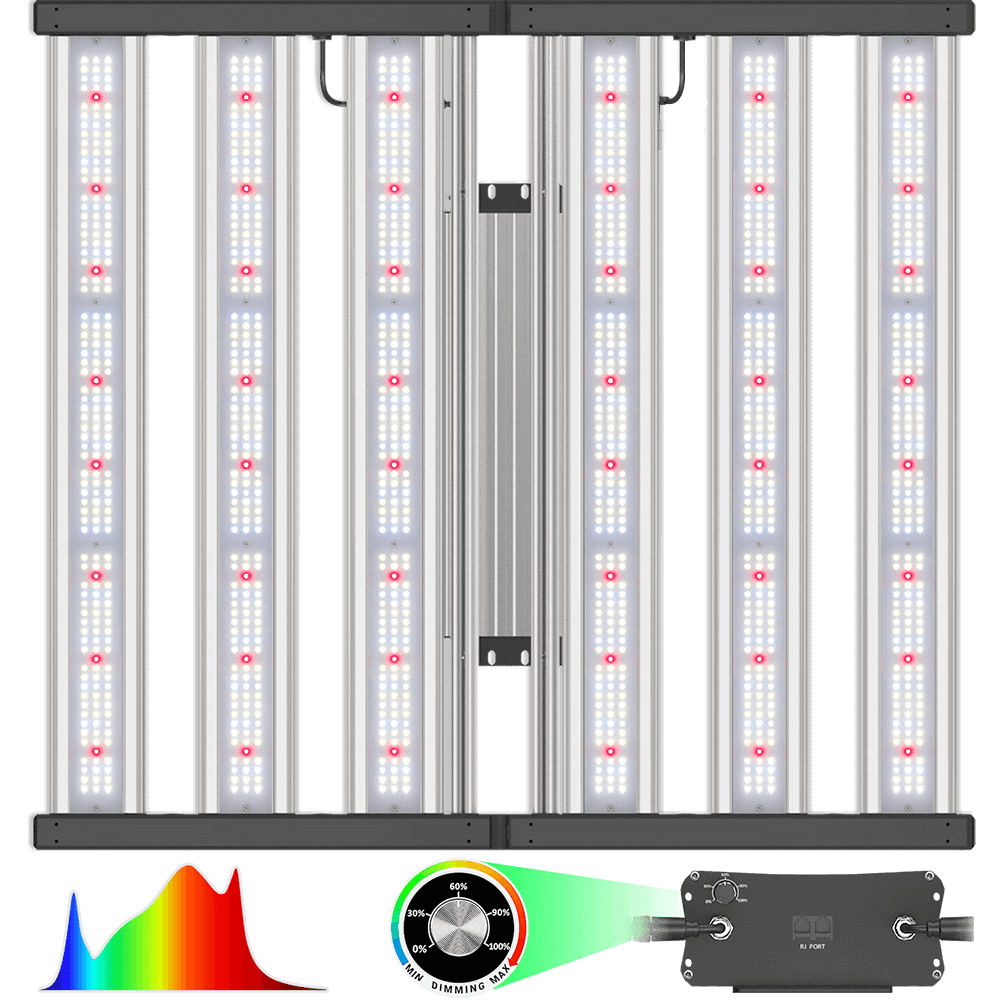
Place the clones under a suitable light source, such as fluorescent or LED grow lights. Aim for a temperature range of 72-80°F (22-27°C) and a humidity level of 70-80% to encourage root development. Monitor the temperature and humidity using a thermometer and hygrometer.
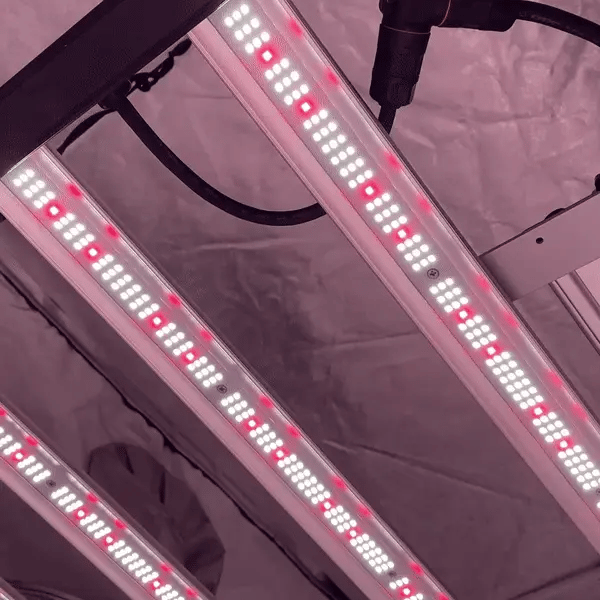
And when it comes to the light spectrum for cloning cannabis plants, a combination of cool white and blue light tends to work best. The goal is to provide sufficient light for root development while minimizing vegetative growth.
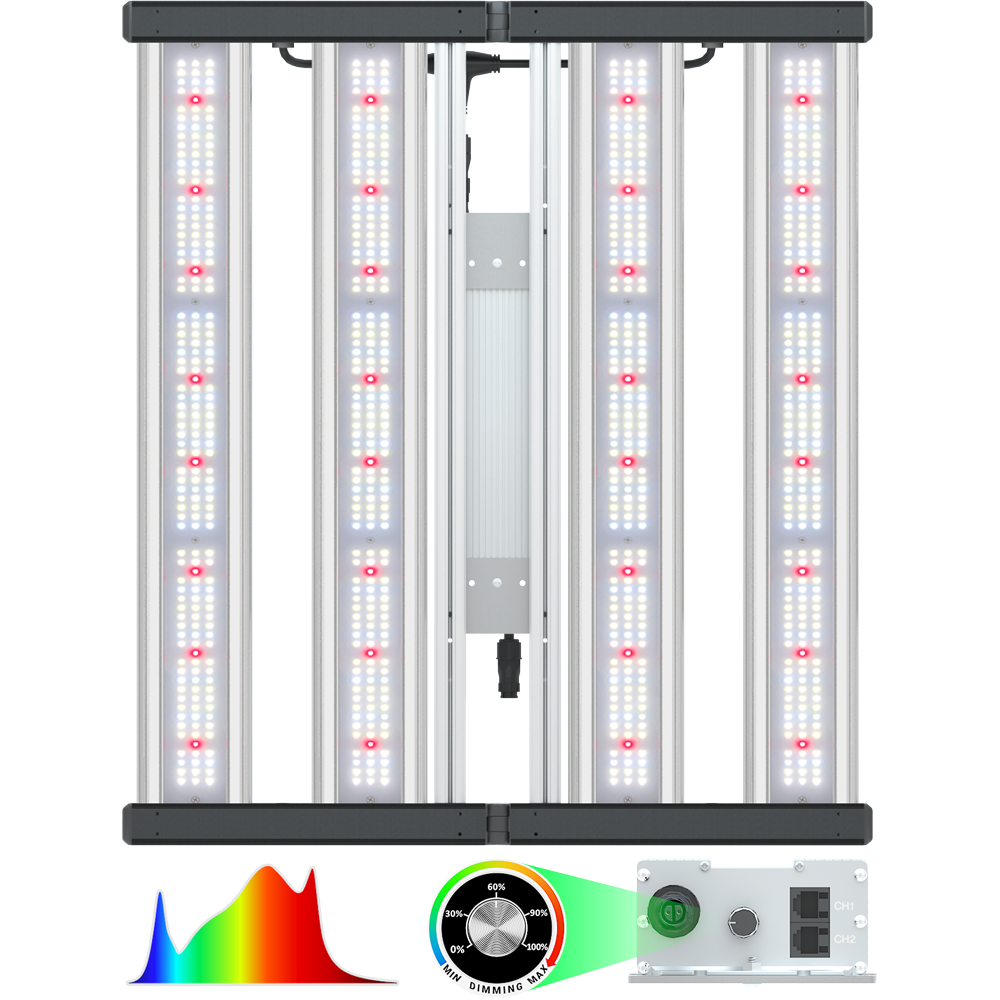
Cool white light (5000K-6500K) and blue light (4000K-5000K) have higher proportions of blue wavelengths, which are crucial for promoting root development and reducing elongation of stems. Blue light is known to stimulate the production of auxins, hormones that encourage root growth. You can find great light for cloning from hyphotonflux
Step 7: Creating a Humid Environment
Cover the clones with a humidity dome or place a plastic bag over the propagation tray. This will help maintain a high humidity level around the clones, reducing water loss through evaporation. Mist the clones with water occasionally to keep the leaves hydrated.
Step 8: Monitoring and Caring for the Clones
Check the clones regularly for moisture levels. Avoid overwatering, as it can lead to rot. Keep the rooting medium slightly moist but not saturated. Monitor the clones for signs of root development, such as new growth or resistance when gently tugged.
Step 9: Transplanting the Rooted Clones
Once the clones have developed a healthy root system (usually within 1-2 weeks), they are ready to be transplanted. Gently remove the rooted clones from the rooting medium and carefully transfer them into a larger container or directly into the desired growing medium. Water the newly transplanted clones, ensuring they receive proper hydration.
Cloning cannabis plants allows growers to replicate their favorite strains and maintain genetic consistency. By following these steps, you can successfully clone cannabis plants and establish a new generation of plants with desired traits. Remember to select a healthy mother plant, provide the right environment, and care for the clones during the rooting process. With practice and attention to detail, you'll master the art of cannabis cloning and unlock the potential to grow consistent and high-quality plants