The production schedule about led grow light of HYPHOTONFLUX (part 2)
✿ Welcome back to HYPHOTONFLUX production schedule. At part 1 we have detailed introduced the Solder paste printing, SMT placement and Reflow Soldering. In below article, we are continue to introduce the subsequent production.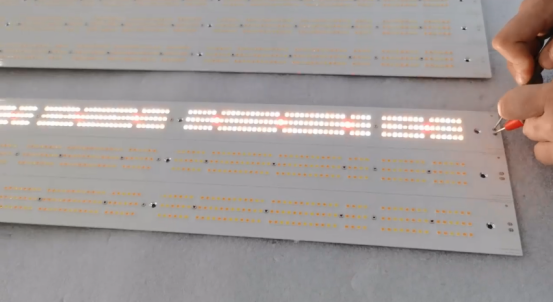
After passing through the oven, the LED board is ready for testing.We conduct a lighting test on each LED board. The lighting test is mainly carried out manually, by energizing the LED board and detecting whether there are damaged, insufficient brightness or uneven led lights among the several led lights installed on the LED board.
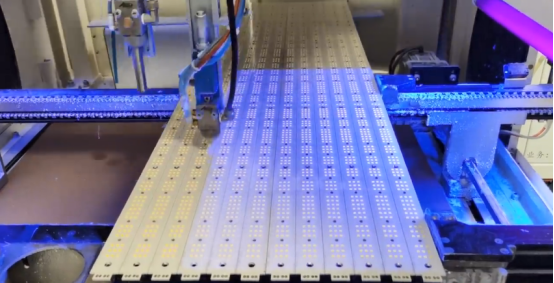
After passing through the LED board lighting test, we are Starting Silicone coating on the PCB.
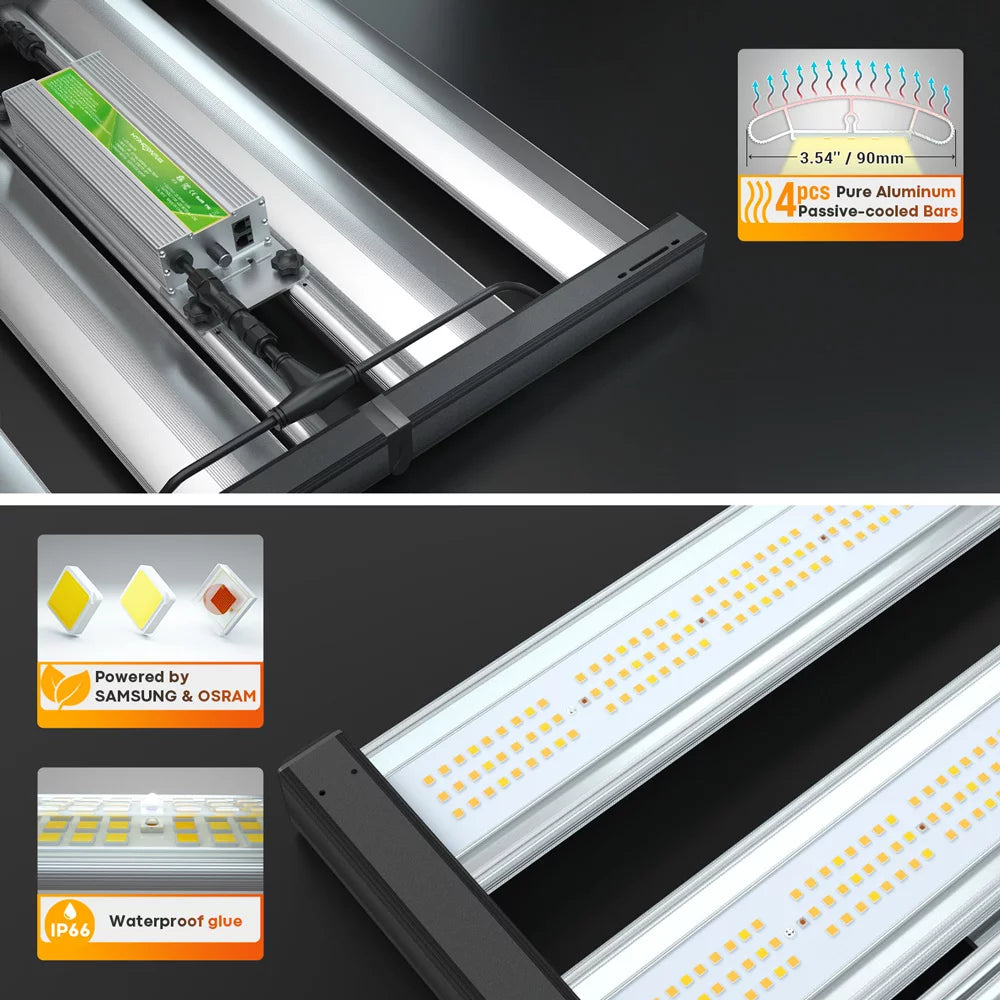
A highly transport blue silicon will be coating on the PCB uniformly. The silicon coating will protect the LEDs from environmental influences such as wet, caustic fertilizers etc.
Heat and humidity are major characteristics of many grow light environments and this kind of silicone coating technology offer good grow light protection.
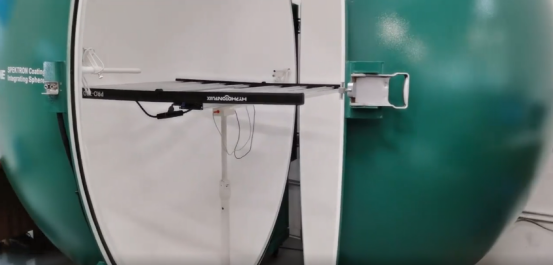
Before the mass production, we will make a Pre-production sample named (PP sample) to start the integrating sphere test.
QA will analyze the light photometric, colorimetric and electrical parameters etc from the integrating sphere testing report. If all data for PP sample are meet the quality standards, we will move forward to start the mass production.
(Remarks: Integration Sphere Testing System is best suitable for all luminaires' photometric and colorimetric measurement.The measurements in the final data meet the requirements of CIE, EN, and LM-79 clause 9.1.)
✿ Mass Production will be continued from next update.